


Ridge Rib Dishcloth – Free Knitting Pattern
This Ridge Rib dishcloth works very quickly. Perfect for dishcloths or washcloths.

Share The Love And Please Favorite!
SKILL LEVEL:
Easy
Basic stitches, simple shaping and finishing.
MATERIALS:
Yarns:
Approx 60-80 yards Lion Brand 24/7 Cotton – Mint

Thank you Lion Brand for sending me this 24/7 Cotton for the Knitted Kitchen 2017 Blog Hop!
Needles & Notions:
Needles – 4, 00 mm
Yarn needle
Abbreviations:
K – knit
P – purl
SL – slip
Size: approx 9 inches
Notes:
Due to the nature of this pattern – the yarn and needles used is only a suggestion and any substitute may be used.
Size of finished product will vary depending on yarn and also size of needles used.

INSTRUCTIONS:
The Ridge Rib is worked over a multiple of 3 plus 1 (without border)
PATTERN NOTE:
If you wish to knit this pattern WITHOUT the border – after you cast on K one row before starting the pattern. Row 6 is the FIRST Wrong-side row.
Cast On 31 plus 8 for the border STS – 48 (9 inch dishcloth) or 61 plus 8 for the border STS – 69 (12 inch dishcloth)
You can choose to either do the Seed Stitch for the border if you are more comfortable and experienced with knitting – or if you are a beginner you can do a plain Knit Stitch border.
Border:
ROW 1: Knit until end. Optional Seed Stitch: P1; *K1; P1. Repeat from until end.
ROW 2 – 5: Knit until end. Optional Seed Stitch: SL1; *K1; P1. Repeat from, until end.
ROW 6:
Border – K4 (Seed Stitch: SL1; K1; P1; K1);
Pattern – P till end to last 4 STS
Border – K4 (Seed Stitch: K1; P1; K1; P1)
ROW 7:
Border – K4 (Seed Stitch: SL1; K1; P1; K1);
Pattern – K1; *P2; K1. Repeat from * till end to last 4 STS
Border – K4 (Seed Stitch: K1; P1; K1; P1)
ROW 8:
Border – K4 (Seed Stitch: SL1; K1; P1; K1);
Pattern – P1; *K2; P1. Repeat from * till end to last 4 STS
Border – K4 (Seed Stitch: K1; P1; K1; P1)
ROW 9:
Border – K4 (Seed Stitch: SL1; K1; P1; K1);
Pattern – K till end to last 4 STS
Border – K4 (Seed Stitch: K1; P1; K1; P1)
Repeat ROW 6 TO 9 for pattern
Border:
LAST 5 ROWS: Knit until end. Optional Seed Stitch: SL1; *K1; P1. Repeat from, until end.
Cast off knit wise.

NOTE – CHART IS SHOWN WITHOUT THE BORDER
Chart is read from LEFT TO RIGHT – starting at ROW 1
CHART ALSO STARTS WITH A KNIT ROW (right side)


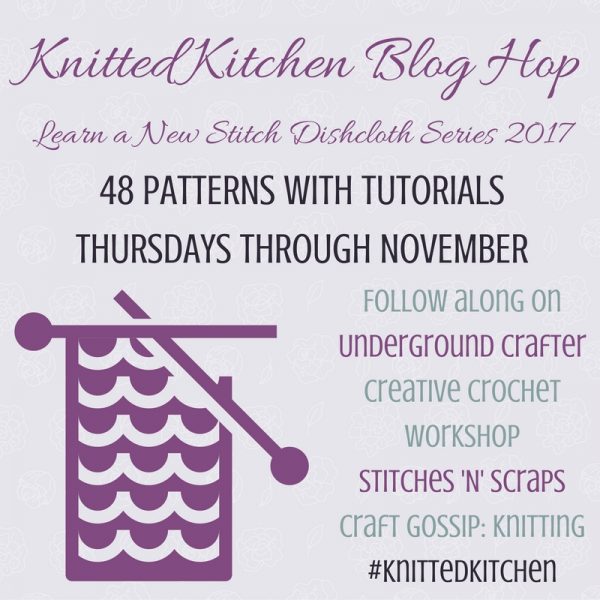
How to join the Knitted Kitchen Blog Hop
- You can join in by knitting the patterns as you have time.
- Share your progress and post pictures of your finished projects. Tag your projects and posts #knittedkitchen on all social media.
- By the end of the blog hop, you’ll have up to 48 beautiful dishcloths. Use your dishcloths to:
- Learn new stitches from our tutorials,
- Decorate your kitchen and dining area,
- Get a head start on holiday gift giving (tip: coordinated sets make great gifts), and
- Have fun with us!
- Be sure to visit and follow the participating designers!
- Underground Crafter. Follow Marie through her weekly newsletter or on Craftsy | Facebook | Instagram | Pinterest | Ravelry | StumbleUpon | Twitter | YouTube.
- Creative Crochet Workshop. Follow Joanita on Facebook | Instagram | Pinterest | Ravelry | Twitter.
- Stitches ‘N’ Scraps. Follow Pia on Craftsy | Facebook | G+ | Instagram | Pinterest | Ravelry | Twitter.
- Craft Gossip: Knitting. Follow Sarah on Etsy | Facebook | G+ | Instagram | Pinterest | Ravelry | Twitter | YouTube.
FOR THE FULL DETAILS AND SCHEDULE CLICK HERE!

Discover more from Joanita Theron Designs
Subscribe to get the latest posts sent to your email.
Hi
Yes you may =D
I have corrected the chart! Thank you! 🙂
May I suggest your chart is not correct.